Back in 2015 I wrote a series of blog posts describing a way to setup a Ghost blog using docker and docker-compose.
Since then a fair amount has changed (technology moves fast!). Ghost has updated from 0.7.x releases through 1.x and is now sitting at 2.x, with a number of changes along the way, most of which is not backwards compatible. Configuration has switched to nconf, the main content path has changed, the database is completely updated, and the theme api has had extensive rework. Of course, the changes bring in a whole load of new features, including a much improved editor and support for richer content.
In the docker world a lot has changed too. Links have been officially deprecated, compose file version 1 is deprecated, data-only containers have been deprecated in favour of docker volumes, and volume support has made its way into compose.
So, it's time to update our blog stack to work with Ghost 2.x and bring everything up to date for 2018.
As before I'll walk through how I've set everything up piece by piece, so you can follow along with your own setup, just replace all references to coderunner.io with your own domain :) If anything is not clear, or you have any other thoughts (or improvements!), drop me a comment below.
I have split this up into four parts:
- Part 1: Setting up a Dockerised installation of Ghost with MariaDB
- Part 2: Deploying Ghost 2.x on DigitalOcean with Docker Compose (coming soon)
- Part 3: Backing up a Dockerised Ghost blog using ghost-backup (coming soon)
- Part 4: Syncing a local and remote Dockerised Ghost blog (coming soon)
The Goal
What we're shooting for:
- Ability to bring up/down the whole stack with a single command (we'll use Docker Compose for that)
- Let us create content and write our posts on a local environment (e.g. laptop) before syncing it easily with a live host once we're ready
- Front our blog with a reverse proxy, because we will be hosting it on a VPS and may want to have other blogs/apps on the same box
- Easy and automated backups of our blog, to our local machine or a cloud storage service like Dropbox.
- Stay as close as possible to Ghosts recommended stack, and Docker best practices
Ready? Let's get started!
Overview
In this first post we will setup Ghost from their official docker image, backed by a MariaDB container, and fronted by Nginx. To wire it all together, we'll use Docker Compose.
Before getting started, you should have Docker and Docker Compose installed. If you're on Mac or Windows, then they both come bundled together
Why docker? Why MariaDB?
Ghost can be setup with either sqlite3 or Mysql/MariaDB.
We want to have our local environment mimic live as closely as possible, so that we can easily sync between the two. Because of this we will avoid sqlite3 (which is only recommended for development), and back our blog using a fully featured DB in both environments. This is one of the benefits of using Docker, that we can easily package up our entire stack so it runs the same in both places. No more 'well it worked on my local machine!' problems.
I've chosen to use MariaDB, but you can use Mysql also if you prefer, just change the docker image. For our purposes, you should be able to drop in one as a replacement for the other.
Directory Structure
So that it is clear up-front, this is the directory structure we'll be putting together:
.
├── config.base.json
├── docker-compose.yml
└── env
    └── coderunner.dev.env

1 directory, 3 files
We'll build up each one as we go, but you can browse all the code for this part on github if you want to check something, or to refer back to the complete solution anytime.
You can checkout all the files for this part with git clone -b part1 git@github.com:bennetimo/hello-blog.gitCreating a Docker Volume
First things first, we need a place to store the great blog content we'll be creating!
We could store everything directly on the host and then bind mount the volume into the container, but this makes everything less portable and very host-specific; we would have to worry about paths, and making sure they're correct on whichever host we'll be running on.
In the previous version of this post I used a data only container to get round this. That would still work, but since then Docker Volumes have come a long way as well as now being fully supported by Compose. So, this is now the preferred method of storing data within docker.
So let's kick things off by creating a file, call it docker-compose.yml and put it in a folder on your machine, let's call it hello-blog.
In this file we'll be declaratively listing all of the components that make up our stack, and how they compose together.
Here is the first version of our file:
version: "3.7"

# Data volumes containing all the persistent storage for the blog
volumes:
 data-ghost:
  name: data-ghost
 data-db:
  name: data-db
This is a very simple docker-compose file that just declares two volumes, which will then be created for us if they don't exist. We have one that will hold the MariaDB database, and the other that will hold all of the ghost content.
We're using Compose file version 3.7, which at the time of writing is the latest. Anything without a version number is considered version 1 and legacy, see here for more info.
Now that we've got a volume to store our content, we can configure the database to use it.
Setup our database
There's an officially supported image for MariaDB which makes our lives easy.
All we need to do is add it to our docker-compose.yml, as a new section below the version line:
services:
 # Database container
 mysql:
  image: mariadb:10.3
  container_name: "db"
  restart: always
  env_file: env/coderunner.dev.env
  expose:
   - "3306"
  volumes:
   - "data-db:/var/lib/mysql"
There's a few things going on here, so let's go through it.
We're creating a database container using the mariadb:10.3 image that is available on Docker Hub. It exposes the default 3306 port so that other containers can talk to it, and is set to restart automatically if it should ever die.
The container_name isn't required, but we've added it to override the default name that would otherwise be generated, to just be the simpler db.
Thecontainer_nameis like the external name that we'll see when we interact with our container using the docker cli. The service name is different, here we've called itmysql, and is the internal name used within the docker network. This name is important, and we'll see why later.
The line "data-db:/var/lib/mysql" tells docker that we would like the /var/lib/mysql directory within the container to actually be stored inside our data-dbvolume.
Any other directories that the MariaDB container uses will still only exist within that container
And finally, we also specified an env_file with our db configuration:
## MariaDB configuration
MYSQL_ROOT_PASSWORD=<YOURDBROOTPASSWORD>
MYSQL_USER=<YOURDBUSER>
MYSQL_PASSWORD=<YOURDBPASSWORD>
MYSQL_DATABASE=ghost
Fill in the blanks for your own blog setup.
Setup Ghost
Next up we need to actually add Ghost, and we have an official image for that too, awesome!
 # Ghost containers
 blog:
  image: ghost:2.2
  container_name: "blog"
  restart: always
  env_file: env/coderunner.dev.env
  volumes:
   - "data-ghost:/var/lib/ghost/content"
   - "./config.base.json:/var/lib/ghost/config.development.json:ro"
   - "./config.base.json:/var/lib/ghost/config.production.json:ro"
As before, we want all user content to live inside the volume we created, so we tell docker to store the ghost content directory that lives at /var/lib/ghost/content inside our data-ghost volume.
The only other thing new here is a couple of lines for setting up our Ghost config files.
Since Ghost 1.0, all config is handled via nconf. This means we can use a config.<env>.json file to configure what settings we need for each environment, and Ghost will load the correct file (matching the Ghost environment) automatically if it's located in the correct place.
The nice thing about using nconf is that every setting can also be specified as an environment variable, which if set will override any values from the config file.
So we can have a base config file with any common settings, and override any environment specific settings with environment variables.
We mount the base file config.base.json as both the development and production config files. Here is the content of that file.
And then in our env/coderunner.dev.env file we add the dev specific settings:
# Ghost configuration
url=http://coderunner.io.develop
database__connection__user=<YOURDBUSER>
database__connection__password=<YOURDBPASSWORD>
NODE_ENV=development
The url value is a Ghost config setting to set the url of our blog. And the NODE_ENV sets the environment that Ghost will start in. For the database details, just make sure they match what you set earlier for MariaDB.
How does the Ghost container talk to the database container?
In older versions of Docker we would use container links to network our ghost and database containers together so that they could talk to each other. This had the side effect of making all environment variables defined in one container available to any container it was linked with. While this meant some setup boiler plate was reduced, it had a number of issues and has now been deprecated.
Instead, all containers are now connected to the same network by default. This means that our ghost container can automatically talk to the MariaDB container using its service name mysql, without us having to do anything extra. If we wanted to use a different name, or have multiple hostnames then we could use network aliases.
Our ghost config file has the database host set to mysql, which is the same as the service name, so nothing more is required for the two to communicate.
At this point we could fire up our blog, but we wouldn't be able to access it from our local machine as we're not exposing the ghost ports. We will go one better than exposing the Ghost port directly, and setup nginx.
Put it all behind nginx
By setting everything up behind an nginx reverse proxy, we can have multiple services (applications, other blogs etc) running on a single box and have nginx handling traffic routing between them. We could set this up manually, but there is already an awesome out-the-box Docker setup in jwilder/nginx-proxy.
Now we're really starting to see the magic and power of Docker. We're building our application by sticking together components like lego bricks! If we need a new piece, we first check Docker Hub to see if a suitable one already exists that we can use.

Let's add nginx-proxy to our docker-compose.yml:
# Reverse Proxy
 nginx-proxy:
  image: jwilder/nginx-proxy:0.7.0
  container_name: "nginx-proxy"
  restart: always
  ports:
   - "80:80"
  volumes:
   - /var/run/docker.sock:/tmp/docker.sock:ro
And that's all we need to create a fully-fledged reverse proxy! Now we just need to tell it the hostname that will map to our blog, by adding a single environment variable to the blog container:
environment:
  - VIRTUAL_HOST=coderunner.io.develop
This simple environment variable is all we need to tell nginx to route any traffic destined for the url coderunner.io.develop on port 80 to be handled by our ghost container.
Great!
Chrome and Firefox now redirect all.devtraffic to https, which is why I now use.develophere instead. Otherwise you'd have to mess around setting up SSL certificates etc on your local machine
Start it up!
In the main blog directory:
docker-compose up
And we're running!
On the very first launch the Ghost container might try to connect to MariaDB before it's finished setting up the database. To avoid it you can start MariaDB separately first with docker-compose up -d mysql, or by using my modified image. See here for more info.We just need to add this mapping to our hosts file:
127.0.0.1 coderunner.io.develop
So that our local machine knows to route the traffic to our local nginx server.
Or you could use a hosts file manager like Gas Mask for macOS
Now we can fire up a browser and visit http://coderunner.io.develop, and we're greeted with Ghost:
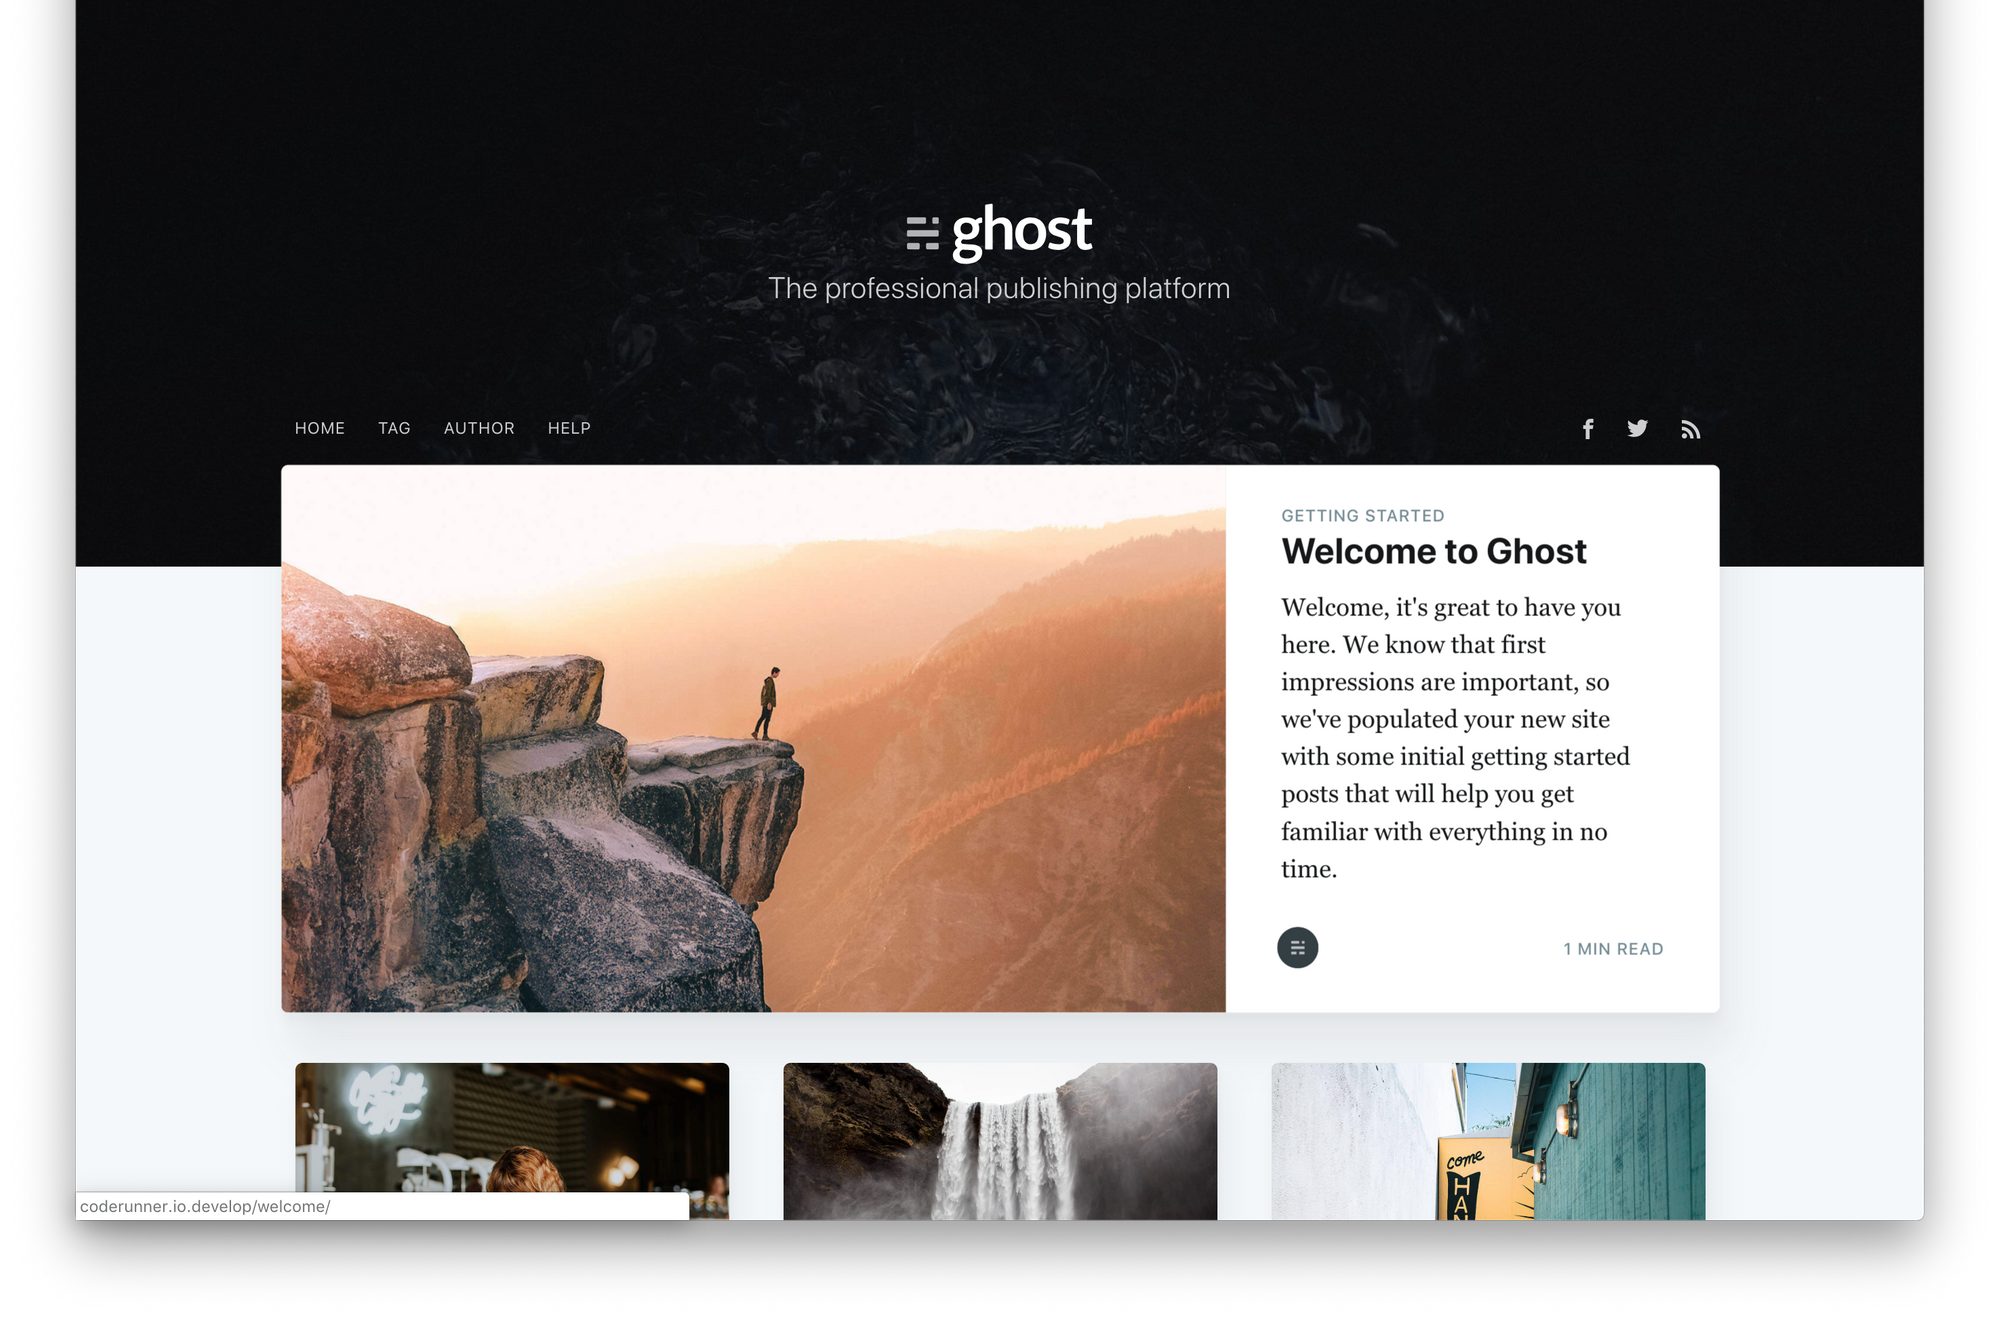
We now have a Ghost blog running, linked to a MariaDB container, and fronted by an Nginx reverse proxy, all running in Docker containers. Nice!
Next up, we need to set it up running live on the Internet so, you know, people can actually read it.
