Recently I found myself wanting to move a blog I had over on Wordpress.com to Ghost. I figured it would be a fairly simple process, but as is often the case it turned out a little more involved. Not least because I wanted to avoid having to pay almost $300 to be able to do it...!
Back in 2017 I setup a travel blog to capture some of my adventures with my girlfriend as we moved around the world.
For ease of use I opted for a paid Wordpress plan, even though I was already self-hosting this blog using Ghost at the time. My thinking was that I needed something that was simple enough to not require any special tweaking or setup, and allow me to write on the go using only an iPad. Wordpress had a handy app for that, so sans laptop but coupled with a BlueTooth keyboard, that's what I did.
I was never happy with it though. Wordpress to me is just too bloated for a simple, bog-standard blogging platform. What's more, the basic paid hosting plan is quite limited, not allowing you to change your theme aside from a handful of options, none of which looked very good. Oh, and it was slow.
It may power 30% of the Internet, but I'd rather use something else.
So, when my subscription recently came up for renewal, I figured it was as good a time as any to spend some time migrating it to Ghost, and hosting it in the same way I host this one.
This should be easy I thought, as after all there is an entire guide to do exactly this, using an official Ghost plugin for Wordpress. Great!
Except, when I tried to install the plugin, I was greeted with:
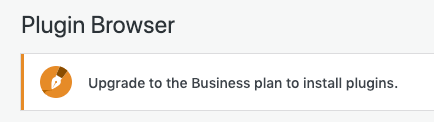
Okay, maybe it's worth it to upgrade just to do this migration. After all once it's done, I'll no longer need a paid plan at all so it'll be worth it in the long run, eventually.
Let's upgrade!
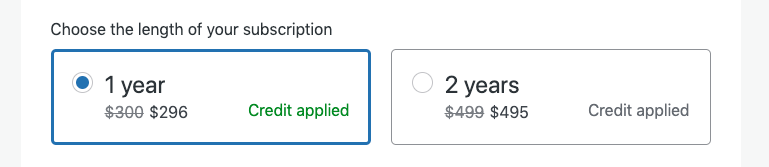
Ouch! Maybe it's just me, but I'm not really down with paying $296 just to move a few blog posts over from one place to another.
There's only a handful of posts, so I could have just recreated them all in Ghost manually, copying over the content, tweaking the formatting, and uploading the images again. But, that's not the developer way, and also, what if I did have hundreds or more to migrate?
Instead I figured there must be a way to do this all for free, so I set about finding it. My goals were:
- Migrate all of the post content, including images
- Migrate all of the post comments from the Wordpress built in system to Disqus
- Drop the date suffix from every permalink. (I had this setting on Wordpress turned on and regretted it). But, ensure the original URLs still work after everything is migrated, too!
- Make it all SSL enabled when self-hosted (this comes as standard on Wordpress)
- Do it all for free!
This post is a step-by-step guide of how I did all of the above. As always, if you have any comments, questions, or feedback leave a comment below!
I have split this up into three parts:
- Part 1: How to migrate a paid Wordpress blog to Ghost, completely free! (this post)
- Part 2: Migrate comments from Wordpress to a Ghost blog with Disqus (coming soon)
- Part 3: Setup SSL for a free on a Dockerised Ghost blog with Let's Encrypt (coming soon)
So are you ready? Grab a cup of tea and let's get started!
Steps involved
Let's start with a high-level overview of what we're going to do, so it's clear in our minds as we progress through each step:
- First, we will setup a Wordpress install locally, and import the content from our paid plan. The open-source version does not have any of those pesky limitations with installing plugins
- Next, we'll install the Ghost plugin to our local installation. We'll then be able to export an archive of our blog in ghost format
- Now we can setup a normal Ghost install, and import the archive we just exported
- At this point, we have our blog content and images moved over, but we still have a little bit of cleanup to do. We'll tweak the CSS and setup redirects so the old permalinks still work. While we're at it, we'll purge any images that we no longer need, to keep the total size down
- We'll setup Disqus, and migrate over the comments
- Finally, we will setup SSL using Let's Encrypt
At that point we should have everything replicated on Ghost, and it's just a case of changing the DNS entries to point there instead of Wordpress.
Okay, time to get stuck in!
Setup Wordpress locally in Docker with Docker Compose
Wordpress is actually open-source, and lives on Github here. When someone talks about the self-hosted version, they are referring to https://wordpress.org/. The paid version, by comparison, lives at https://wordpress.com/.
Anyone can use Wordpress for free if they're willing to host it themselves, or you can pay someone else to host it for you. And one of those companies you can pay to do it for you is... Wordpress.com. It was setup by the co-founder of Wordpress Matt Mullenweg, but is pretty much the same as any other hosting service that happens to use the open-source software underneath.
What you get with the paid version is automatic upgrades, hosting, support, built-in backups and things like that. Basically, you simply pay and then create. The downside is that you are limited in customising and tweaking things and have less control, which is only somewhat alleviated by upgrading to one of the more expensive plans.
For more on the difference between self-hosted and paid Wordpress, check out this post: https://www.wpbeginner.com/beginners-guide/self-hosted-wordpress-org-vs-free-wordpress-com-infograph/
So, because Wordpress.org and Wordpress.com use the same software underneath, we can spin up our own local installation on our laptop, and just import our data.
One of the simplest ways to do that is via Docker. There is an official image for Wordpress, which is a great start. Then it just needs to be paired with a suitable mysql database. And of course, there's an image for that too.
If you don't know much about Docker, you can still follow along but it would be worth reading up on the basics. You can install it for your system here, and read more here.
We could bring up these containers manually, but it's a bit easier to use Docker Compose. This will handle bringing up both the blog and database containers and wiring them together.
Create a new directory somewhere, like wordpress_local, and then create a docker-compose.yml file inside which looks like this:
version: '3.3'

services:
   db:
     image: mysql:5.7
     volumes:
       - db_data:/var/lib/mysql
     restart: always
     environment:
       MYSQL_ROOT_PASSWORD: somewordpress
       MYSQL_DATABASE: wordpress
       MYSQL_USER: wordpress
       MYSQL_PASSWORD: wordpress

   wordpress:
     depends_on:
       - db
     image: wordpress:latest
     ports:
       - "8000:80"
     restart: always
     environment:
       WORDPRESS_DB_HOST: db:3306
       WORDPRESS_DB_USER: wordpress
       WORDPRESS_DB_PASSWORD: wordpress
       WORDPRESS_DB_NAME: wordpress
volumes:
    db_data: {}
There's not much clever stuff going on here. We just setup some environment variables so that everything can talk nicely together. The WORDPRESS_DB_USER corresponds to the MYSQL_USER and similarly for the others variables.
We won't worry about the security of the passwords or anything for this, as this setup is a throwaway. Once we've got our data out, we can just destroy the stack
Now open a terminal in the directory you created, and fire up Wordpress locally with:
docker-compose up -dYou'll see it starting up:
Creating network "wordpress_wanderers_default" with the default driver
Creating wordpress_wanderers_db_1 ... done
Creating wordpress_wanderers_wordpress_1 ... done
Not if you hit http://localhost:8000 in your browser, you'll get the Wordpress setup page:
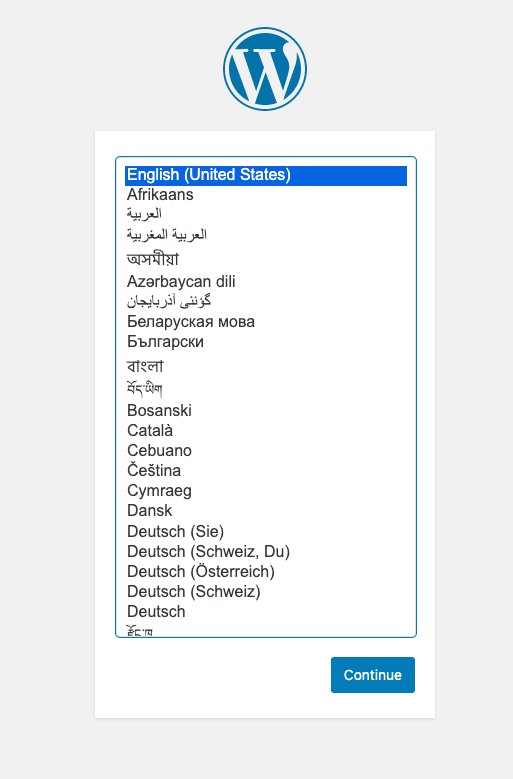
At this point you can just complete the wizard normally. Don't worry too much about the details, as again this is just a throwaway install.
Once you have created a user you should be able to login, and you will be at the Wordpress dashboard, just like on the paid hosting. Now to bring over our blog content!
Exporting our paid Wordpress blog and reimporting locally
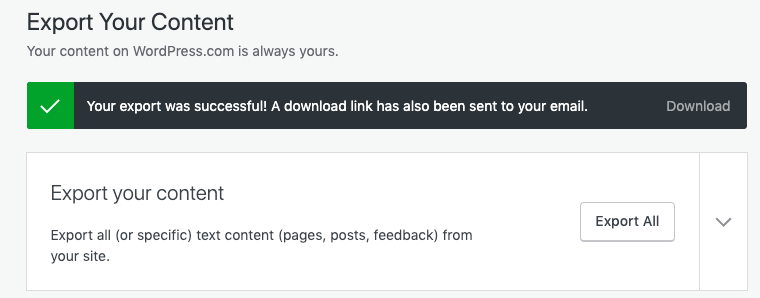
In your paid Wordpress dashboard, generate an export of all your content by going to 'Tools -> Export'. You should export both the content archive as well as the media. Save both to the same folder you created earlier.
Back in our local Wordpress dashboard, we can now just head over to 'Tools-> Import', and click to install the importer:

Once done, 'Install Now' will change to 'Run importer', where you can then import the content archive you saved.
The content archive is the singlexmlfile, inside the firstziparchive
You'll need to map every user from your paid blog to one on the local one. If like me that's just the same single user, it's pretty straightforward. You can also tick the option to 'Download and import file attachments' which will try to retrieve the images automatically, so we can leave the media archive we downloaded just as a backup if this does not work.
Let that sit tight and import everything. Depending on how much content you have, it could take a little while.
If you get a message for some items that they failed to import, then you may have some custom plugins on your paid install that add different post types etc. In this case you might need to install them locally too/add some tweaks before those items will import. I had this problem with feedback posts, from the JetPack plugin.
Now if you hit http://localhost:8000 again, you should see your posts (the theme is probably ugly, but we've moving it all to ghost anyway so we'll tidy it all up there).
Exporting to Ghost
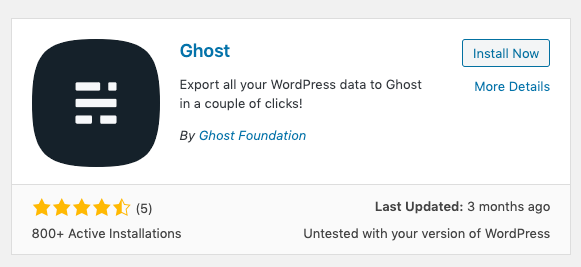
Time to move everything to Ghost. First, install and activate the plugin. Now we're hosting Wordpress ourselves, we can install anything we want!
Then also install the 'Categories and Tag Converter' under 'Tools -> Import'. We'll need this to map Wordpress categories to Ghost tags.
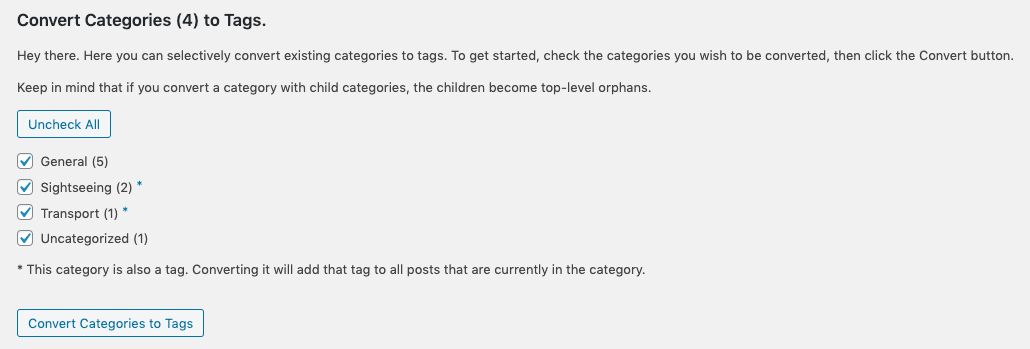
Once the latter is installed, we can run the tag conversion. Check all, then hit that convert button.
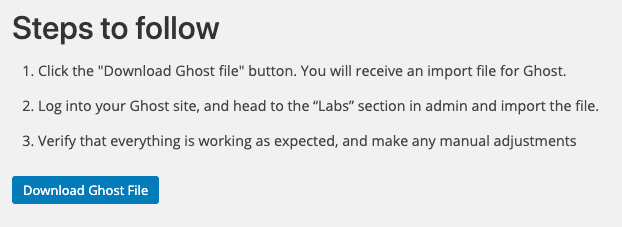
Finally, we can now run the Ghost export plugin and download a zip archive of all of our blog in Ghost format, nice!
Great, so we now have something we can import into a fresh Ghost installation. At this point you could find a paid hosting provider that sets everything up for you, or you could run your own stack as I do using Docker. A walkthrough for that is here, if you're interested.
It doesn't matter how or where your Ghost blog is hosted, so pick whichever makes most sense for you.
Now when you have your new install ready, you can head over to the Labs page and import your archive.

So now we've managed to get all our content migrated over from Wordpress to Ghost, and all for free. So far so good!
Updating the slugs to remove the dates
This step is something you can skip if it's not relevant to you.
When I setup my blog on Wordpress, I had the settings checked to create the slug for each page using the date it was published, like this: https://wanderersoftheworld.com/2018/12/10/24-hours-on-a-bus-journey-to-vietnam/.
In my mind it makes content look dated, is cluttered, and possibly could affect search engine ranking and traffic too.
We can change it, but what about any references kicking around on the Internet or that people have bookmarked, how do we ensure those will still work? Fortunately it is very easy to do this using Ghost. We can upload a URL redirect map, which says for a given from url what it should be mapped to. And even better, it supports regular expressions. This means that we can:
- Remove the date from the
Post URLsection of each posts settings - Add a redirect from the old link to the new one, so that anyone (or any search engine) that uses it will still find your post
The mapping we need is as simple as a single redirects.json file you can create:
[{"from":"^/\\d{4}/\\d{2}/\\d{2}/(.*)","to":"/$1","permanent":true}]If your date format is slightly different, you might need to tweak the regex
With this we match any url starting with /yyyy/mm/dd/x and replace it with just x.
All you need to do is upload this file and voila, hitting one of the old links will automatically map to the same without the date. Great!

For more detailed info on redirects, see the Ghost docs on it
What's next? Well you will probably find that while out of the box things look fairly good, you may want to make a few visual tweaks.
Let's do that now!
Tweaking the CSS and styling
The default theme for Ghost is Casper, which is nice and clean and often good enough. This blog uses it too, aside from a few small tweaks I made. One way to make those tweaks is to fork the theme (it's open source after all), after which you can make any modifications you like before packaging it up and importing it back to your blog.
That's great, but is there a quicker, easier way if you just want to make a few, small tweaks here and there? Yes. Via code-injections.
Ghost includes out of the box the ability to add custom CSS/JavaScript code to both the entire blog and even to individual pages. This can be incredibly powerful!
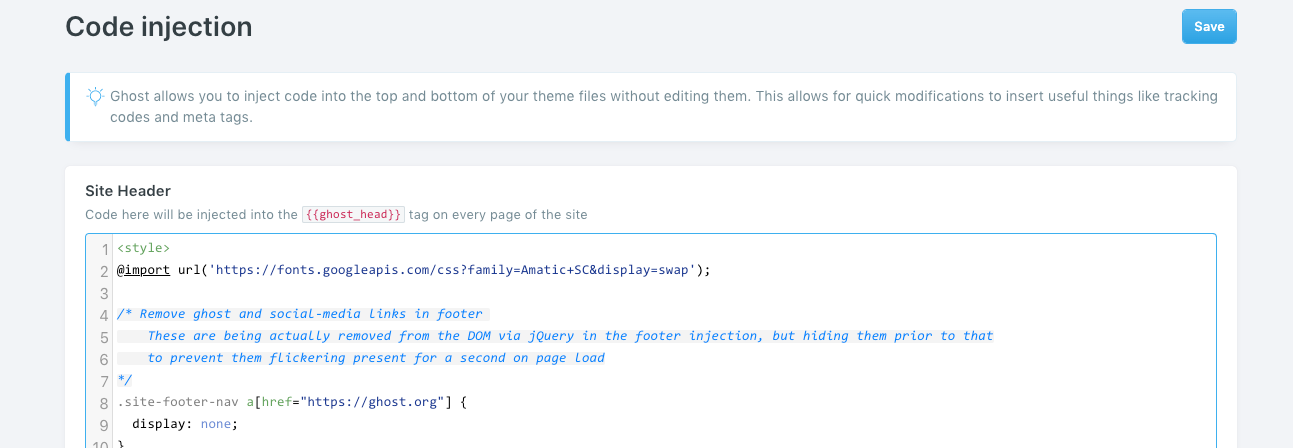
To do this site-wide, just go to 'Settings -> Code Injection'. Now you can add arbitrary code to the header or footer on each page. Below are some examples of things you could easily change.
Add any custom CSS between<style>and</style>tags, as shown in the first example
Add beautiful, free fonts
Found a nice font over at Google Fonts? You could add it and use it with something like:
<style>
@import url('https://fonts.googleapis.com/css?family=Amatic+SC&display=swap');

/* Make title a nicer font (and bigger) */
.site-title {
    font-family: 'Amatic SC', cursive;
    font-size: 8rem;
}
</style>
Remove the social media and TryGhost links
If you would rather not have them (like me), just hide them:
/* Remove social links in top-right */
.social-links, .floating-header-share {
  display: none;
}

.site-footer-nav a[href="https://twitter.com/tryghost"] {
  display: none;
}
Change the colour of the progress bar
/* Override the default colour of the progress bar */
progress::-webkit-progress-value { background-color: #98b4de !important; }
progress::-moz-progress-bar {background-color: #98b4de !important;}
progress {color: #98b4de;}
Add an Instagram link at the bottom
This one requires a bit of custom JavaScript, best placed in the footer:
<script>
// Remove social-links for facebook and twitter, replace with instagram
$(".site-footer-nav").empty()
$(".site-footer-nav").append('<a href="http://instagram.com/yourusername" target="_blank" rel="noopener">Instagram</a>')
</script>
Change the position of an image on an individual blog post
Maybe after doing the import, you find that just a handful of the cover images across your blogs look really bad. Maybe they're too big, or showing too high up or something similar. Well instead of redoing all your images, you could selectively apply a little custom CSS to 'fix' just these. To do that just go to 'Settings -> Code Injection' from the editor window for a single post.
Then you can make the micro-adjustments you need:
<style>
@media (min-width: 800px) {
    .post-full-image img {
        height: 500px;
        object-position: 0px -600px;
    }
}
</style>
Hopefully that gives you an idea of the kind of things you can do. If you want to make more rigorous changes then either forking the theme or finding another one you like might be better. But for simple quick things like this, it works great!
Purging unused images
You might find you have lots of images that are not referenced and just sitting unused, taking up space. Wordpress tends to create different versions of the same one which can lead to a bit of clutter.
There's a handy open-source tool, ghost-purge-images, which can help with this.
If you've setup your Ghost blog in docker, we can get this working without much effort. We'll just exec into our container and add the package, via npm.
docker exec -it <yourblogcontainer> bash
npm install -g ghost-purge-images
Now it's installed, we need some API keys for it to work. For that, just open the Ghost admin panel and go to 'Integrations' and add a 'Custom Integration'.
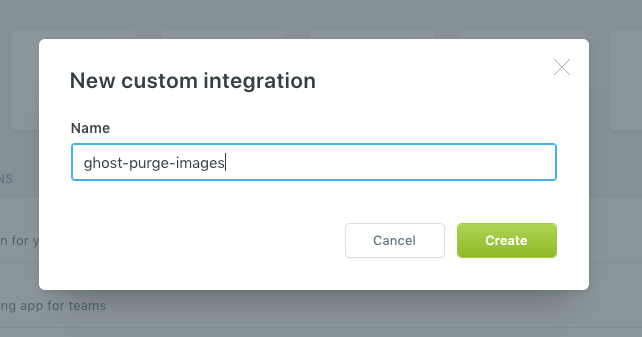
Click Create, and you'll get a Content API Key and Admin API Key.
Now back in the blog container shell, run:
cd /var/lib/ghost
ghost-purge-images display --content-key=YOUR_CONTENT_KEY --admin-key=YOUR_ADMIN_KEY
If your setup is different, you basically want to run the command from the directory where yourconfig.development.jsonorconfig.production.jsonfile is. Also for this to work, you need to have theurlsetting in your config file pointing to where Ghost is running. If you're using my Docker setup, you likely don't have that as it is set by environment variables instead. You can add it though withghost config url http://localhost:2368
If all is well, you'll be given a summary of images that are not in-use. You can then run the same command but changing display to purge to actually remove the files.
👇 Unused images that can be removed:
- content/images/2019/12/DSC00011.jpeg (0.08 MB)
- content/images/2019/12/DSC00011_o.jpeg (0.08 MB)
- content/images/2019/12/favicon.ico (0.10 MB)
- content/images/size/w1000/2019/12/DSC00011.jpeg (0.08 MB)
...
...
- content/images/size/w600/2019/12/DSC00011.JPG (0.04 MB)

📊 Summary:
- 18 files of 353 uploaded images (5.10%)
- Total space: 8.15MB

❔ Want to delete this files? Run `ghost-purge-images purge --content_key=YOUR_CONTENT_KEY --admin_key=YOUR_ADMIN_KEY`
🎁 Open source tool by https://ghostboard.io
Make sure to take a backup of your images first, just in case!
Okay that's it for this one. We've now migrated our blog over to Ghost and done some customisations, all for free. At this point you could update the DNS records for to point to your shiny new blog.
But, there's a little more we may still want to do. So, in future posts, we'll look at look at how to migrate the comments over to Disqus and how to get SSL setup with Let's Encrypt.
Until then have fun customising your new blog over in the Ghost world!
