Update: This blog series has been updated for Ghost 2.x. If you've landed here looking to setup a new Ghost blog, you should follow the updated version.
In the last post (Part 1) we setup a new blog with Ghost and MariaDB, running behind an nginx reverse proxy, and all using Docker containers setup with Docker Compose.
![]()
Now we will get those containers running on a VPS with DigitalOcean so people can actually see our blog! If you have any comments or questions, feel free to leave them below :)
This is part 2 of the series:
- Part 1: Setting up a Dockerised installation of Ghost with MariaDB
- Part 2: Deploying Ghost on DigitalOcean with Docker Compose
- Part 3: Syncing a Dockerised Ghost blog to DigitalOcean with automated backups
OK, let's get our blog up and running on the Internet. As before, you can follow along by replacing any references to coderunner.io with your own domain.
Guide
- Why a VPS?
- Why DigitalOcean?
- Launching a Droplet (VPS)
- Deploying our blog with Docker Compose and Git
- Pointing our domain to our droplet
- Improving the workflow
Why a VPS?
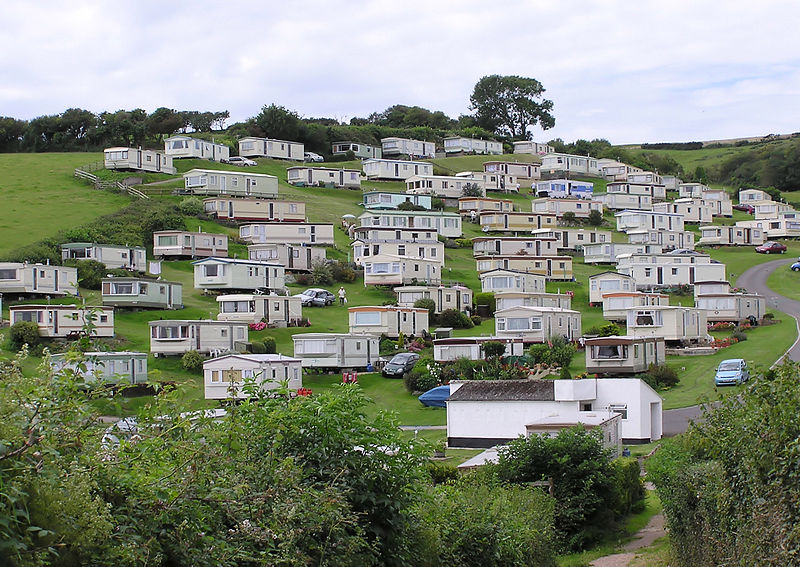
If a dedicated server is analagous to owning an entire house on the beach-front to yourself, and shared-hosting is like renting a room in the nearby hotel, then what's a VPS? It's like owning a caravan in the holiday park; you share some things like the shop and access to the beach, but mostly you have your own environment, and you're responsible for maintaining and looking after it.
A dedicated server would be overkill, at least in the beginning. But a shared-host might be underkill, as we would be competing for resources on the box with who-knows how many other sites, doing who-knows what? Back in our beach hotel, if the person next door is playing really loud music every night at 3am, we can't do much about it.
A VPS gives us a nice hybrid, where we're still sharing resources on a box but we're given a fixed allocation that is just for us; Our blog won't start performing poorly because someone else is hogging all the resources.
If we were hosting a simple static website (maybe using something like Jekyl), then some other great options would be Amazon S3 or Github Pages. As we're using Ghost we need more than static pages, but it's worth keeping in mind for other projects
Why DigitalOcean?
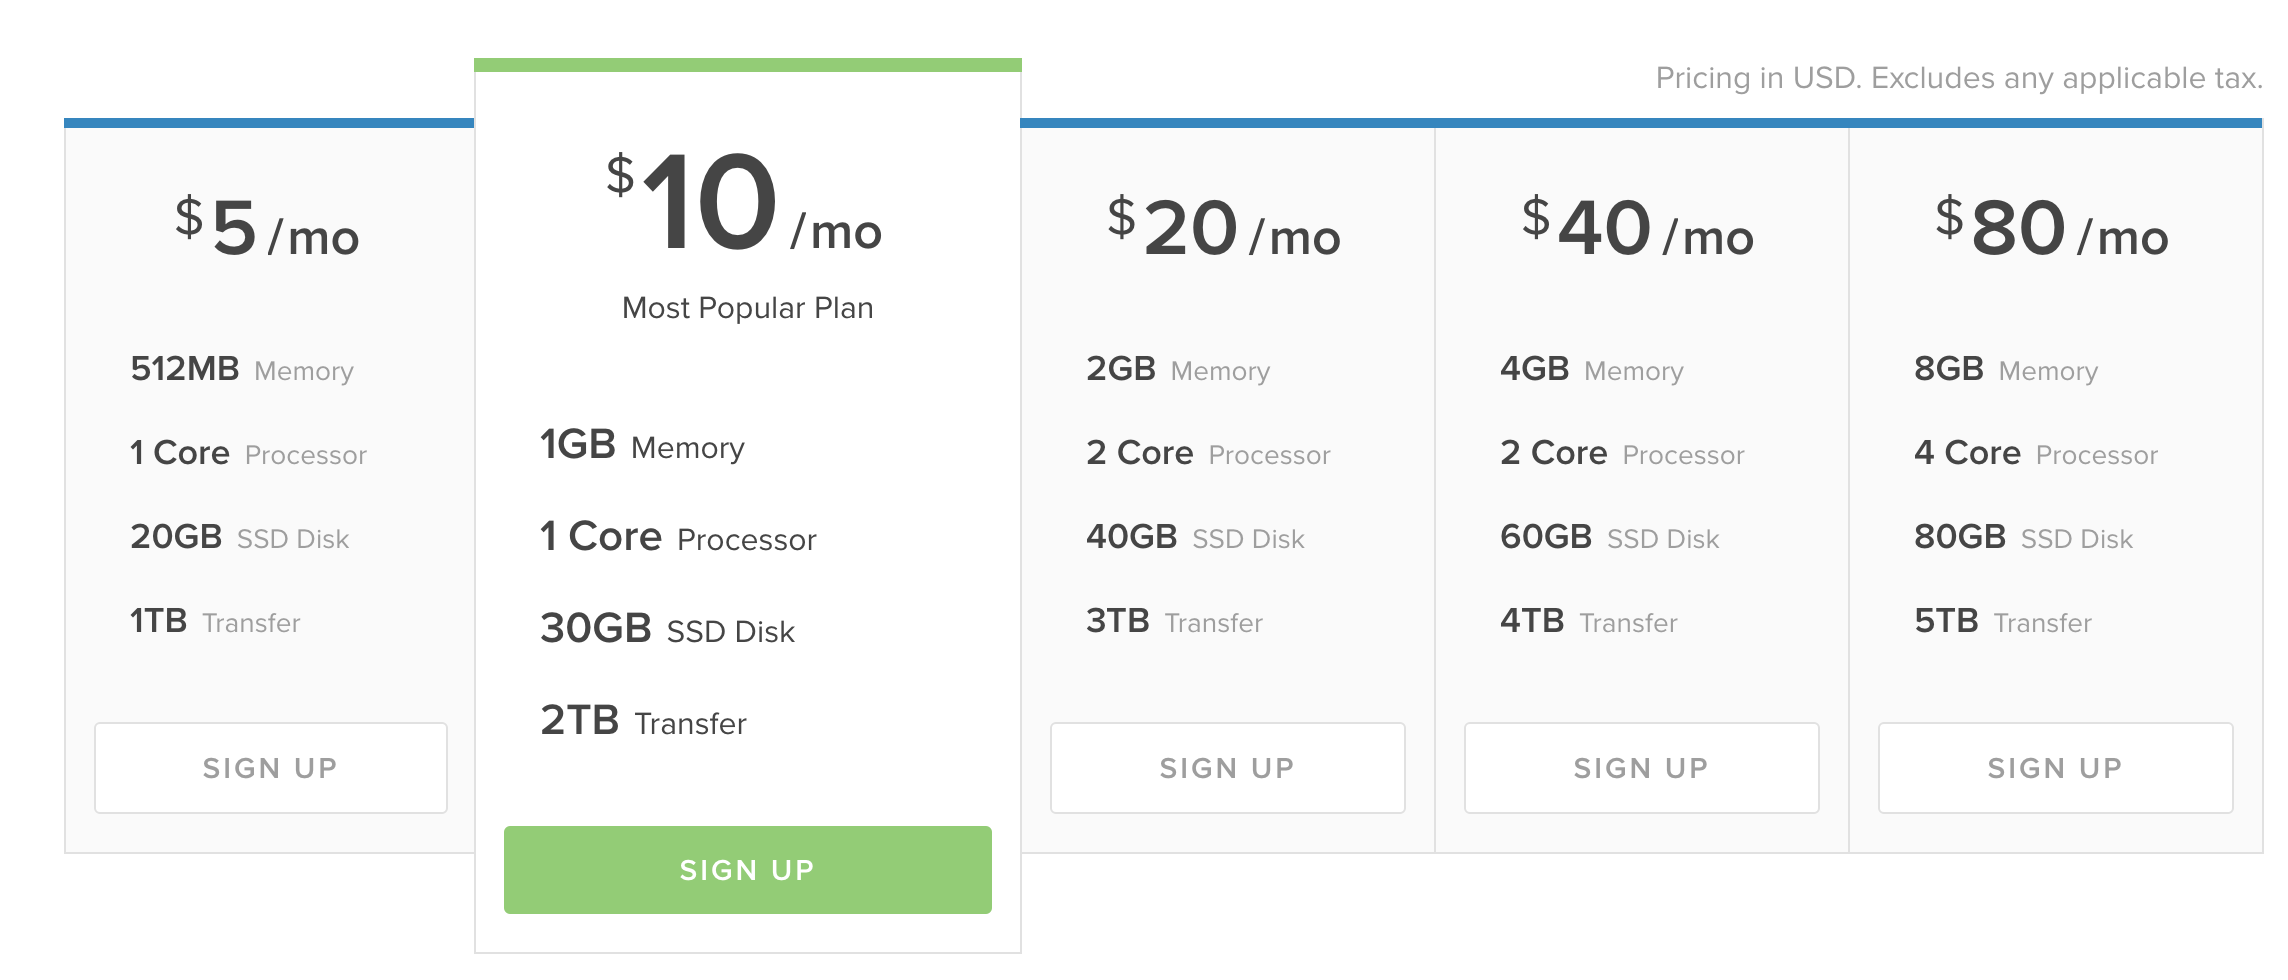
There are a huge number of VPS providers out there, all with different pricing models and features. I went with DigitalOcean because they're aimed at developers and have a great community. It helps that all their servers are backed by fast SSDs starting at only $5 a month of course!
You could also check out Linode or something else.
This Quora question compares DigitalOcean and Linode.
Launching a Droplet (VPS)
A VPS on DigitalOcean is called a Droplet, and getting our blog up and running on one can be done before your cup of tea goes cold.
- First, you need to create an account. You can use my referral link if you want to get $10 credit :)
- Now create a new Droplet, and use the one-click-app configuration that includes Docker to make life easy
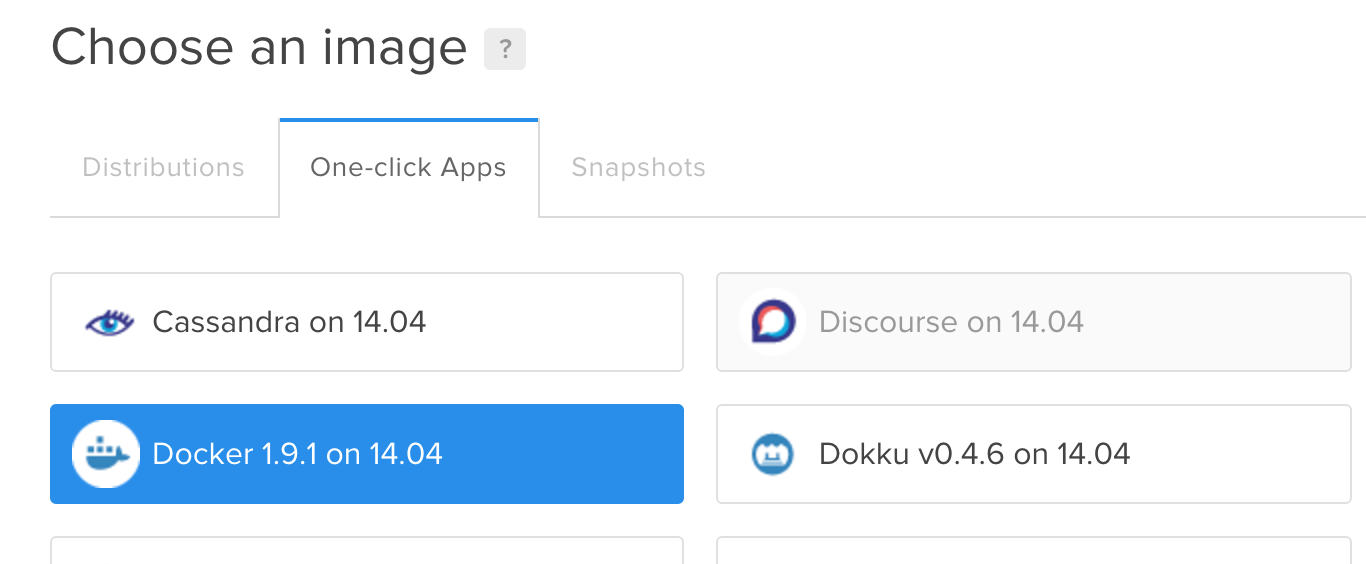
The $5 droplet is fine to get going, and you can scale it up later if needed
- Do some one-time configuration for the Droplet, like setting up SSH keys and disabling root access. You can use their guide for that. You might also want to follow the recommended steps for Ubuntu droplets.
- Setup Docker Compose on the Droplet
curl -L https://github.com/docker/compose/releases/download/1.5.2/docker-compose-`uname -s`-`uname -m` > /usr/local/bin/docker-compose
chmod +x /usr/local/bin/docker-compose
Done, our droplet is now ready. Let's deploy our blog to it!
Deploying our blog with Docker Compose and Git
In the last post we created a docker-compose.yml and related files that describe all the components of our blog. The beauty of Docker is that we can use those same files to get our blog up and running on the Droplet, and it should work just as it did locally.
We could scp/rsync the files from our local machine to the Droplet, but we're after a more robust workflow that will allow us to easily make and track changes in the future.
Instead we can commit everything to a Git repository. I'm using Bitbucket as they offer free private repos, but you could use Github or something else too.
cd directory-from-last-post
git init
git add .
git commit -m "initial commit of blog!"
git remote add origin remote-repository-url
git push origin master
We're only committing our Docker files, not the entire Ghost installation.
Now we have those files in the cloud, we just need to pull them down on our Droplet and start everything up. So SSH into your Droplet (you set that up earlier, right?) and then:
- Clone your repo
- Start it up
git clone your-repo
cd your-repo
docker-compose up -d
Great, our blog is now up and running on our Droplet!

We can ping its IP address to check it's responding:
$ ping 46.101.81.204
PING 46.101.81.204 (46.101.81.204): 56 data bytes
64 bytes from 46.101.81.204: icmp_seq=0 ttl=59 time=24.215 ms
64 bytes from 46.101.81.204: icmp_seq=1 ttl=59 time=21.129 ms
Now we just need to update the DNS records for coderunner.io to point to the Droplet so that we can actually access the blog!
As a quick test, you could add another entry in
/etc/hostsas we did in the local setup, but using the Droplet's IP
Pointing our domain to our droplet
Assuming you're using DigitalOcean, setting up the DNS records is nice and easy by following their guide.
In a nutshell, we just need to update the DNS nameservers for our domain to use DigitalOcean's:
ns1.digitalocean.com
ns2.digitalocean.com
ns3.digitalocean.com
And then configure the A and CNAME records in the networking settings of the account:

These two records ensure that the domain works with or without the www.
Now if we hit http://coderunner.io, we'll see the Ghost page, just as we did before. Nice!
Remember that DNS records can take up to 24-48 hours to propagate, and if you followed the last post, then you'll need to remove the local entry in
/etc/hostsfirst
Improving the workflow
Now we have our blog running live on http://coderunner.io, but we want to be able to work on it locally too.
We could keep changing our /etc/hosts file to flip between the local and the live version, but that's a bit cumbersome.
There are tools like Gas Mask on OSX that make managing multiple hosts files easier, but it's still not ideal; we want to avoid having to change it at all.
What would be better is to have coderunner.io pointing to the live blog, and coderunner.io.dev pointing to our local copy.
We can achieve this by taking advantage of multiple compose files. All we need to do is modify our setup slightly.
Let's extract the part of the blog-coderunner.io configuration that changes depending on the environment, which is just a handful of environment variables, by creating two new .yml files.
local: docker-compose.override.yml:
blog-coderunner.io:
 environment:
  - VIRTUAL_HOST=coderunner.io.dev
  - NODE_ENV=development
live: docker-compose.live.yml:
blog-coderunner.io:
 environment:
  - VIRTUAL_HOST=coderunner.io
  - NODE_ENV=production
We set NODE_ENV so that we are using 'production' on our live site, as it is more appropriate.
Finally we make a very small modification to the config.js file, so that the URL configured for Ghost has '.dev' appended if we're running in development.
Now when we are starting up locally we can use docker-compose up as before. That's because by default Docker Compose will look for both a docker-compose.yml and a docker-compose.override.yml file and merge them together.
On the Droplet though we need to make a small change to how we 'up' the stack, by using instead:
docker-compose -f docker-compose.yml -f docker-compose.live.yml up -d
This time we have to explicitly list the live .yml file as it is non-standard.
Finally, we will add one entry to our /etc/hosts for our local machine:
localhost coderunner.io.dev
Again if you're using docker-machine then you want to use the IP of the virtual machine which you can find with
docker-machine ip default
The directory structure now is:
.
|-- data-coderunner.io
|   |-- config.js #[gist](https://gist.github.com/bennetimo/6ddb288bf645abf76b38)
|   |-- Dockerfile #[gist](https://gist.github.com/bennetimo/0ab18d783557438c6145)
|   `-- env_coderunner.io
|-- docker-compose.live.yml #[gist](https://gist.github.com/bennetimo/9fdafd238a7c404fcc39)
|-- docker-compose.override.yml #[gist](https://gist.github.com/bennetimo/70d6f93f6fd2350e6470)
`-- docker-compose.yml #[gist](https://gist.github.com/bennetimo/91ca871c3aaa2e7a148a)

1 directory, 6 files
We can commit these changes, pull them on our Droplet, and start everything up.
At this point we have our blog running both locally and on a VPS (Droplet) on DigitalOcean, great!
We can start to write some content on our local environment now, but we don't yet have a way to push it to the live site. We'll take a look at that in the next post, where we'll add sync, as well as backup and restore from Dropbox.
