Do you have loads of videos littering your drive from your phone, camera, GoPro etc. taking up loads of space? So did I, so I started looking for a way to reduce the size while keeping the perceived quality the same, and retaining all of the original metadata and timestamps.
Storage space might have become a lot cheaper in recent years, but at the same time we're recording more and more high quality video. Also, when you start thinking about backing up all those precious memories to a cloud service then size really starts to matter again.
It's not just space either, over the years I've owned a range of different devices, all recording video in different formats, codecs and qualities. Some of these are now old and difficult to work with, with no native support in macOS, Plex, etc.
Here's just some of the digital cruft that's accumulated for me:
- Home movies from an old digital camera (mpeg2 in a .MOD container)
- Old edited movie projects (mpeg2 in a .wmv container)
- Clips from a very old mobile phone (H.263 QCIF in a .3gp container)
- Video from a more modern Android phone (h.264 1080p in a .mp4 container)
- GoPro Hero 3+ footage (h.264 720p in a .mp4 container)
- GoPro Hero 5 footage (h.264 1080p/2.7k in a .mp4 container)
Perhaps you have something similar if you've used many different devices over the years too!
A 19s clip from a really old phone weighs in at 198kb. On the other hand, 10 seconds of 2.7k on the GoPro5 puts out 78.2mb. That means my GoPro (not at max quality) eats up around 750x more space per second... we've come a long way!
Sure, VLC will play pretty much everything you can throw at it, but it's not always convenient. I'd like to be able to stream my media across my devices, whether in or out the house.
Goals
So, I set about organising my video library, with a few goals:
- Transcode all old audio/video files to the standards of 2018 (namely h.264 video, and aac audio)
- Retain as much metadata as possible, in particular creation date and file modification timestamps (so sorting files by date is not messed up, for example)
- Reduce the file size! (But, retain the same perceived quality)
Transcoding is a lossy operation that re-encodes the entire data stream and repackages it, so there is some loss from the original. However, with the right settings, the difference is almost impossible to notice.
Let's get shrinking
If you google how to reduce video size you'll get a whole range of different results. It's a bit of a minefield, with many blogs and articles set up promoting all sorts of shareware tools all claiming to be your one-stop solution.
There is no need to cough up any money though, because a very advanced and capable open-source tool exists: HandBrake. This handy app is completely free and supports macOS, Windows, and Linux.
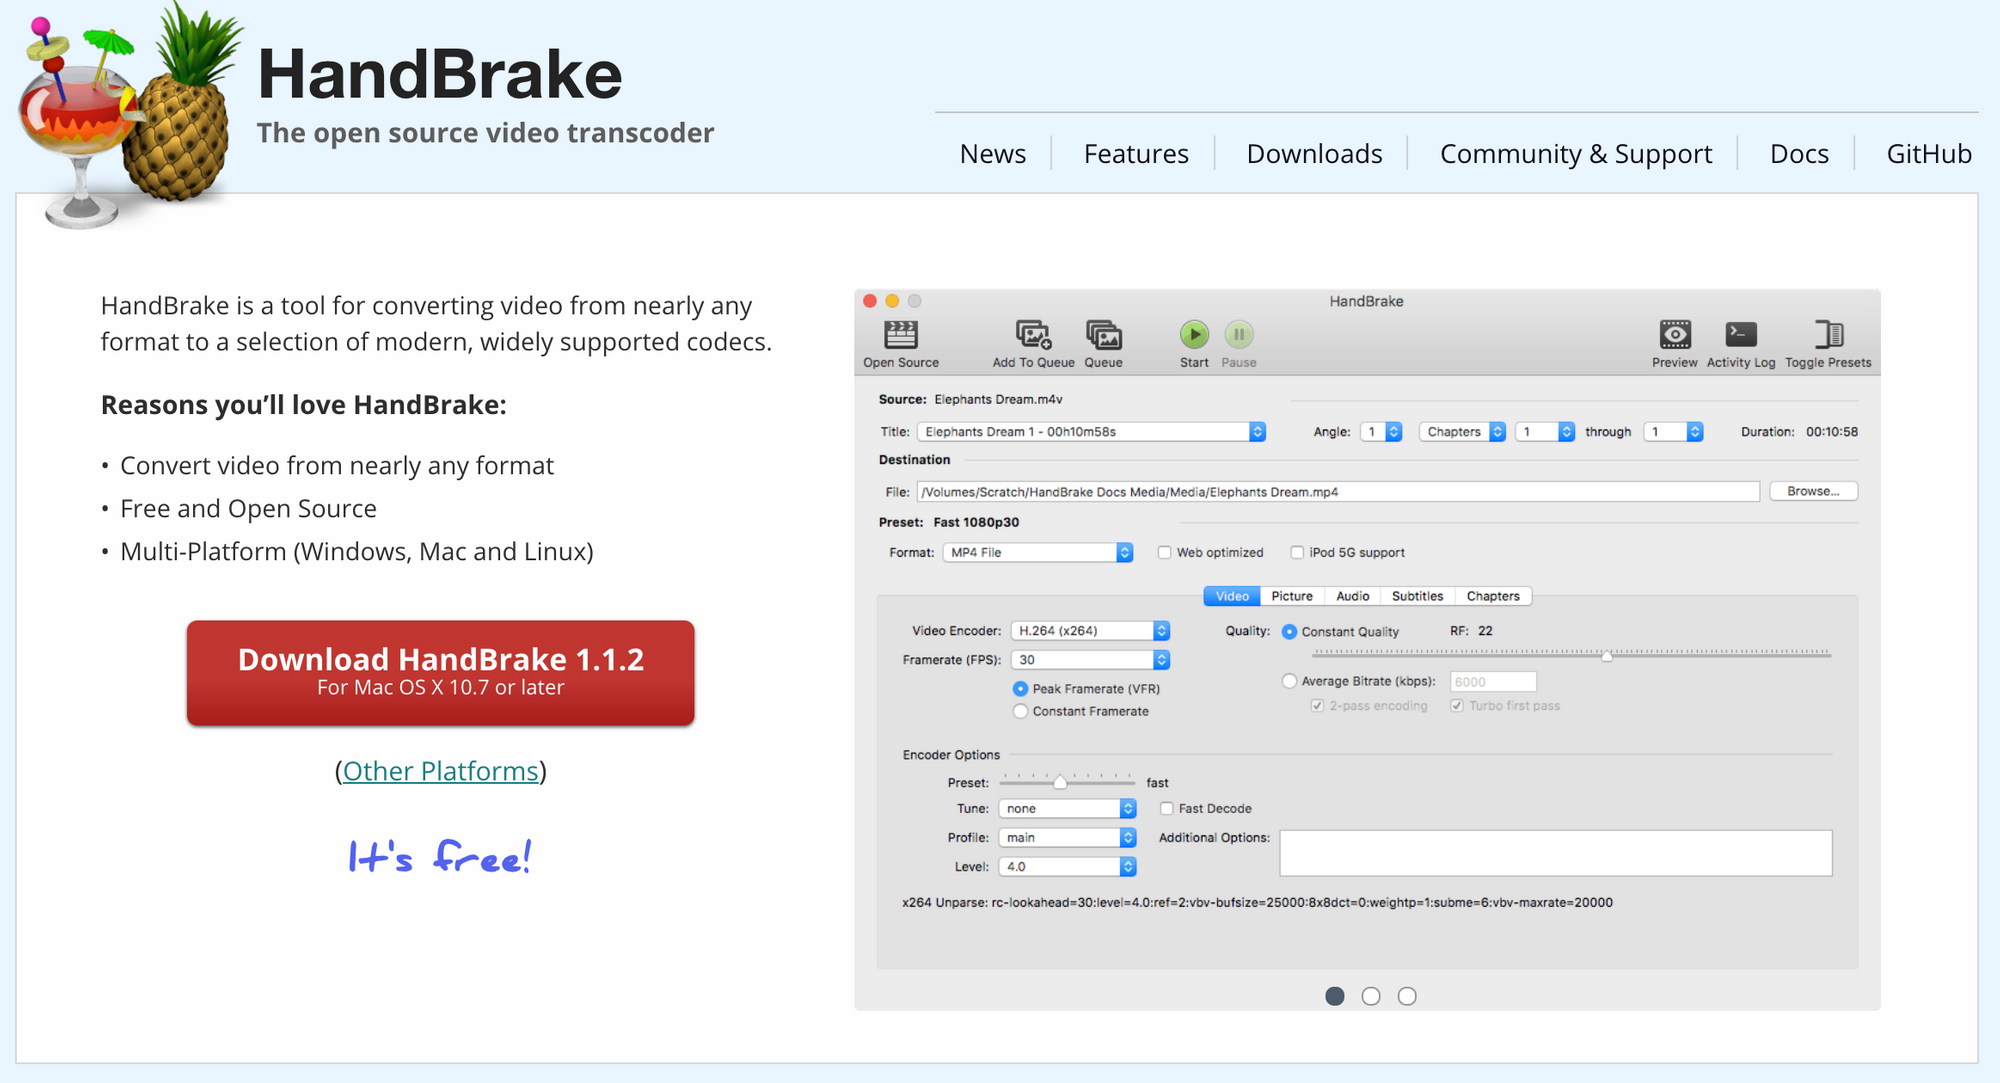
HandBrake might look daunting at first, but for most of the options the defaults they've chosen are sensible. If you load a particular preset (iPhone, YouTube etc) then it pretty much just works, and has been able to handle everything I've thrown at it.
Apart from one snag. Handbrake is not the best at preserving the metadata of the original file. That's a bit of a dealbreaker for me, as I'm often sorting and organising files by date in Finder. If I use HandBrake, then every video I've taken ends up having a modified timestamp of whatever day I run them through it. There is an open request on their github to improve this, but as of now it's not high up the priority list.
It's also a little clunky working with files in batch mode. I had years worth of videos I wanted to run through it, so anything that can't be easily automated is not ideal.
There is also HandBrakeBatch, a small wrapper around HandBrake that was made before there was any built-in batch support. It's a very simple tool, but does manage to preserve the timestamps. However, it is no longer maintained and hasn't been updated since 2013.
HandBrake is a very useful tool and if you don't care about preserving all the metadata then you might find it does everything you need, so give it a try.
As preserving the metadata was important to me, I needed something else.
Enter FFmpeg
FFmpeg is "a complete, cross-platform solution to record, convert and stream audio and video." It's a very advanced and powerful tool that can do much more than simple video-transcoding. You can pretty much do anything you can think of to a video.
Let's say we have an old home video shot with a camcorder that was saved as a .MOD and we want to convert it to something more modern.
First, we need to install FFmpeg. Next, we just open up a terminal window (or cmd prompt on Windows), and fire off:
ffmpeg -i input.MOD output.mp4
That's it. FFmpeg recognises the file extensions and uses suitable codecs and defaults for each, so in this case it will take our old input.MOD file and transcode it to output.mp4, which will be h.264 inside an .mp4 container.
You can also explicitly choose the video and audio codecs to use with-codec:vand-codec:arespectively
What about file size?
In my simple test I took an old video clip from a JVC Everio Camcorder, shot in 2010.
The original file was 27.5mb, for a 24 second clip. The transcoded file is 3.4mb, a reduction of ~87%!
Surely we're going to be getting a terrible conversion to be able to make it that small?! Actually no, to my eyes the two are, for all intents and purposes, the same.
Quality
What makes a video seem to have high quality?
One of the key factors that influences this is the bitrate, how many bits of information are used for encoding each second of video. If we have more bits, we can encode more information. Similarly, if we have less bits available to use, then we have to be selective in deciding what information to keep, and what we have to throw away.
There is always a trade off between quality and file-size. Generally speaking, higher quality uses more space.
At the extreme end, a single minute of UHD 4k footage might take up over 5GB of disk space.
The job of a codec is to stuff as much information as possible about your video into the smallest package it can. Overtime, codecs improve and better ways of compressing video are designed that might be able to achieve both higher quality as well as lower file-size.
h.265 is the successor to h.264 which boasts even more impressive compression, sometimes giving as much as a 50% reduction in file-size. The cost is limited support, and the need for fast, modern hardware to make use of it. The tradeoff wasn't worth it for me right now, but given time it will likely take over.
The amount of bits we might want to use is also not necessarily the same throughout all points of our video. For example, if the camera is positioned steady and not much is changing, then there's not as much to encode and we might get away with using less bits.
On the other hand if we have lots of changes frame to frame, we're going to need more bits to encode it all. But to make it even more interesting, when things are moving the human eye cannot perceive as much detail as when they're static, so for fast-motion content we might also get away with less bits.
Fortunately we don't really have to worry about all this, we can just use the crf factor setting (Constant Rate Factor) from the h.264 codec. And in fact, we've already used it without knowing.
The crf factor basically translates as "try to keep this quality overall", and will use more or less bits at different parts of the video, depending on the content. (the bitrate is variable).
As best described by the docs:
The range of the CRF scale is 0–51, where 0 is lossless, 23 is the default, and 51 is worst quality possible. A lower value generally leads to higher quality, and a subjectively sane range is 17–28. Consider 17 or 18 to be visually lossless or nearly so; it should look the same or nearly the same as the input but it isn't technically lossless.
The range is exponential, so increasing the CRF value +6 results in roughly half the bitrate / file size, and vice-versa.
Let's try this out:
Here's another video shot while skiing, on an old Android phone in 2012.
Let's see what happens if we go crazy and try using a value of 51 for the crf:
ffmpeg -i VID_20120116_121220.mp4 -crf 51 output.mp4
As you can see, although we achieved a drastic reduction in file-size, we had to throw away a huge amount of detail to get there; the video is terribly blocky.
So, the trick with the crf is to experiment with different values for your own videos. Depending on how much you can see the difference, how you're going to watch them, what the original source was and so on, you might choose different values to me.
For my phone videos, from a Nexus 5, I'll typically get a space saving of 60%+ using a crf of 22 (where the difference is not noticeable to me). If the scene is mostly black, for example a video of fireworks or lightning storms, I've seen it be nearer 95%. My guess is that older hardware isn't able to do as good an on-the-fly encoding because of resource limitations, so the space saving can be great for these.Starting with the default (23) makes sense, moving nearer 18 if you value quality more, and towards 26-28 if you value space savings more.
Transcoding speed
This is all well and good, but how long does it take to run? After all if we have hundreds of files to transcode, we don't want to leave our poor laptop working for weeks!
FFmpeg has a number of speed presets, which change how quickly the transcode will run. The default is 'medium', but you can choose from 'ultrafast' to 'veryslow'.
A slower preset will take longer to run (sometimes significantly longer), and put more demands on your hardware, but it might be able to do a better job and hit the same quality with a smaller file-size.
How come? Imagine you're packing your car boot to go on holiday and you're in a hurry. You're standing at the car and your partner brings you each suitcase, bag or box to put in one by one. As soon as you take each item to pack, you find a space in the car and put it in. At some point the boot fills up, so you start putting things on the seats and on the roof-rack. All packed!

Now imagine that you have to pack the same car with the same items, but you're in no hurry this time. So you lay out all the items on the ground and take your time thinking through what best fits where. Sometimes you'll take something out and rearrange it if you find something else later that better fits the space. You might be able to pack all the same items into the same car, but fit everything into just the boot leaving the seats and roof free.
This is sort of how better compression can work. With more time, the codec can try different things, go over things multiple times, and generally just make a better choice as to what to put where.
I find that medium and fast are good sweet-spots for me on my laptop:
ffmpeg -i VID_20120116_121220.mp4 -crf 22 -preset fast output.mp4
Preserving metadata
We've now managed to compress our videos down to a much smaller size and retain enough quality that we can't tell the different. Great!
Only, so far we've lost most of the metadata doing so.
Not so great.
The original skiing clip has, among other metadata, all of the correct timestamps:
File Modification Date/Time     : 2012:01:16 11:13:54+00:00
File Access Date/Time           : 2018:11:08 16:34:25+00:00
File Inode Change Date/Time     : 2018:11:07 22:20:37+00:00
Create Date                     : 2012:01:16 11:13:54
Modify Date                     : 2012:01:16 11:13:54
Track Create Date               : 2012:01:16 11:13:54
Track Modify Date               : 2012:01:16 11:13:54
Media Create Date               : 2012:01:16 11:13:54
Media Modify Date               : 2012:01:16 11:13:54
In contrast, our new smaller one has lost it all:
File Modification Date/Time     : 2018:11:08 15:16:28+00:00
File Access Date/Time           : 2018:11:08 16:34:01+00:00
File Inode Change Date/Time     : 2018:11:08 15:16:28+00:00
Create Date                     : 0000:00:00 00:00:00
Modify Date                     : 0000:00:00 00:00:00
Track Create Date               : 0000:00:00 00:00:00
Track Modify Date               : 0000:00:00 00:00:00
Media Create Date               : 0000:00:00 00:00:00
Media Modify Date               : 0000:00:00 00:00:00
By default, FFmpeg won't preserve the metadata from the original streams, but we can tell it to with the -map_metadata option:
ffmpeg -i VID_20120116_121220.mp4 -crf 22 -map_metadata 0 \
    -preset fast output.mp4
This will copy all the metadata from the first input file (numbered starting from zero) to the output.
We only have a single input, but it's possible to have more when you're combining videos, overlays etc
Let's look at the metadata again now:
File Modification Date/Time     : 2018:11:08 16:48:34+00:00
File Access Date/Time           : 2018:11:08 16:48:35+00:00
File Inode Change Date/Time     : 2018:11:08 16:48:34+00:00
Create Date                     : 2012:01:16 11:13:54
Modify Date                     : 2012:01:16 11:13:54
Track Create Date               : 2012:01:16 11:13:54
Track Modify Date               : 2012:01:16 11:13:54
Media Create Date               : 2012:01:16 11:13:54
Media Modify Date               : 2012:01:16 11:13:54
Better, but we still don't have the file modification time set correctly.
Let's fix that now!
Recovering file modification timestamps
FFmpeg isn't able to copy the file modification timestamp because it is not part of the metadata inside the file, it is metadata of the actual file itself as written by the OS.
Instead, we can use exiftool by Phil Harvey for this. This is a very powerful exif/metadata tool that is primarily used for photos, but has some support for videos too.
exiftool -tagsFromFile VID_20120116_121220.mp4 -extractEmbedded \
   -all:all -FileModifyDate -overwrite_original output.mp4
This will extract all the metadata (-all:all) from the original file, and copy it to output.mp4. In particular, we make sure to include the -FileModifyDate from the outside also.
You could also usetouch, like thistouch -r VID_20120116_121220.mp4 output.mp4to copy across the modification date. I'm using exiftool though, just in case there is any other metadata that FFmpeg misses out
Now, we have restored the correct file modification time:
File Modification Date/Time : 2012:01:16 11:13:54+00:00
Awesome!
Only, it's a bit manual and tedious to do this for our entire video collection...
Automating it all with Shrinkwrap
For each video, our flow is the same:
- Use FFmpeg to transcode and compress the video
- Recover the file-level metadata with Exiftool
It would be nice to have a tool that bundles up everything we've seen into one simple package, wouldn't it?
For this reason, I created Shrinkwrap.
Shrinkwrap takes as input one or more video files (or directories), shrinks them all, and then wraps them back up with the original metadata. The end result should be videos that are smaller, all the same type, and as close to the originals as possible. Basically, what our original goals were!
To use Shrinkwrap, you just need to install Docker, and then run something like:
docker run -v /path/to/your/videos:/vids bennetimo/shrinkwrap \
    --input-extension MOD --ffmpeg-opts crf=22,preset=fast /vids
The key parts of this command are:
/path/to/your/videos/is where the videos are that you want to convert--input-extensionis the type of videos you want to process, here.MOD--ffmpeg-optsis any arbitrary FFmpeg options you want to use to customise the transcode
That's it, just let it run.
By default, each video will be shrunk into a new file of the same name with the suffix -tc.mp4, so that you can distinguish it from the originals. It will convert all video to h.264, and all audio to aac.
The originals are not modified or touched, so you can try out different options and then only when happy, delete the original if you want
Shrinkwrap will use a slightly more advanced FFmpeg command, a bit more like this:
ffmpeg -i "input.mp4" -copy_unknown -map_metadata 0 -map 0 -codec copy \
    -codec:v libx264 -pix_fmt yuv420p -crf 23 \
    -codec:a libfdk_aac -vbr 4 \
    -preset fast "output.mp4"
Woah! Quite a lot going on there!
This translates as "hey FFmpeg, take my video input.mp4 and transcode it, making sure to copy_unknown streams, map all the streams you find, and map_metadata from my input file. For any video, convert it using libx264, with a pix_fmt of yuv420p and a crf quality of 23. For audio, I want it as aac using the libfdk_aac codec using a vbr of 4. Finally for any other streams (e.g. data), just copy them as is, and do the whole thing fast!"
Here you can really start to see the power of FFmpeg. You might want to specify additional filters too with-vf. e.g. if your video is interlaced, you can use-vf=yadifto de-interlace it
For more customisation, you can check the readme. There are also a couple of Shrinkwrap presets that do a few extra things, specifically for GoPro footage, that you might want to check out if that applies to you.
I've also written a separate post specifically for compressing GoPro video files
Now we have everything we need to shrink our ever growing collections and keep them maintainable!
Shrinkwrap is working for my needs right now, but if you have any comments or suggestions, be sure to leave them below!
Have fun saving space :)
Post cover image source
